Creating a Plugin Project
NOTE For new projects, it is highly recommended to use Gradle.
This section explains how you can create a new plugin project from scratch using the New Project wizard. Optionally, you can import an existing project or import a project from external models. You can also add a new plugin module to a current Consulo project. For more information, refer to the IntelliJ IDEA Web Help.
To Create an Consulo Plugin Project:
- On the main menu, choose File | New | Project.
The New Project wizard starts.
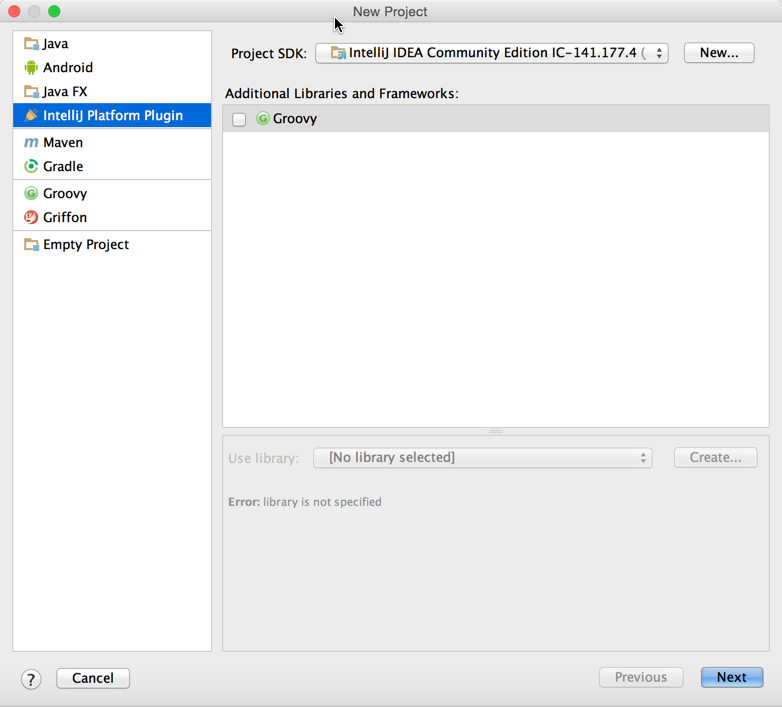
- Set Consulo Plugin project type.
- Click Next.
- Set the desired project name.
- Click Finish to generate project structure files.
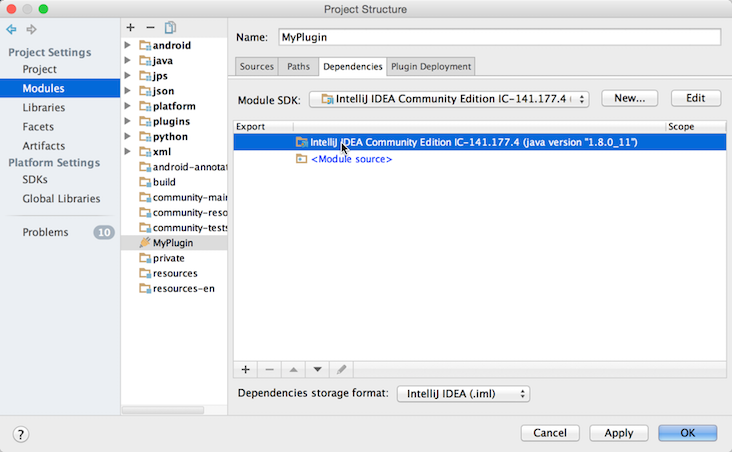
- Go to File | Project Structure to customize project settings if required.
To Create an Consulo Plugin Module
- Select File | New | Module and choose the Consulo Plugin module type
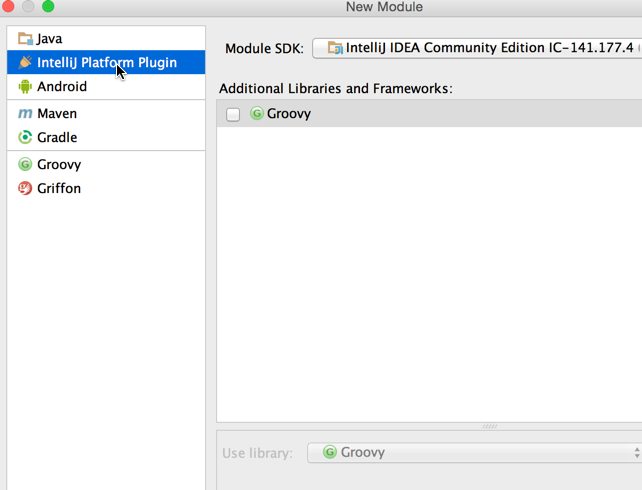
- Enter your desired plugin name.
- Go to File | Project Structure and select the newly created Consulo SDK as the default SDK for the plugin module:
Adding Code to the Project
Before running the new project, add some code to provide simple functionality. See the Creating Actions tutorial for step-by-step instructions for adding a menu action.